
Three-Ingredient Chia Jam: A Wholesome Plant-Based Spread
For years, our team hunted for a jam that didn’t taste like a chemistry experiment. We’d stand in the grocery aisle flipping jars over, reading labels that listed pectin, glucose-fructose, “natural flavour,” and preservatives we couldn’t pronounce. Nothing felt right for a blog built on whole foods. Then we tried thickening fruit with chia seeds, and the whole thing clicked. Three ingredients, one pot, twenty minutes — and a spread that actually tastes like the fruit it came from. This is the recipe we now make on repeat, and it’s the one we recommend to every Canadian home cook who wants real food on their toast.
Why We Love Chia Jam (And You Will Too)
Chia jam isn’t a compromise. It’s better than the jarred stuff in almost every way that matters to us. You control the sugar, you control the fruit, and you get a spread that’s genuinely nourishing instead of just sweet. It also happens to be one of the cheapest things you can make at home, especially if you buy chia seeds in bulk.
Healthier Than Store-Bought
Commercial jam relies on refined sugar and added pectin to set. A typical tablespoon can carry 10 to 12 grams of sugar with very little fibre to slow it down. Chia jam uses the seeds themselves as the thickener, and those same seeds bring omega-3 fatty acids, fibre, and plant protein to the party. We sweeten with maple syrup or honey rather than white sugar, and often we use less than a recipe calls for because ripe fruit does most of the work. The result is a spread that supports steady energy instead of a sugar spike.
Endlessly Customizable
Once you understand the ratio — fruit, chia, sweetener — you can make any flavour you can imagine. Raspberries with lime, peaches with ginger, apples with cinnamon. You can dial the sweetness up or down, leave the fruit chunky or blend it smooth, and swap in whatever is ripe at the market that week. Chia seeds are a Canadian pantry staple too; we pick ours up at Bulk Barn, where you can scoop exactly the amount you need from the bulk bins, or grab a bag at Loblaws or Costco Canada. That flexibility is why this recipe has stayed in our rotation for years.
The Three Simple Ingredients
That’s the whole list. No pectin, no preservatives, no mystery. Just fruit, chia, and something sweet. Because the ingredient list is so short, quality matters — use fruit you’d be happy eating on its own.
Fruit: The Star of the Show
Fresh or frozen both work beautifully. In summer, we load up on Ontario strawberries, which are available from June through August and make an exceptional jam thanks to their natural sweetness and soft texture. Later in the season, BC blueberries are a seasonal Canadian fruit that’s practically designed for chia jam — they break down easily and hold a deep, jammy colour. Frozen berries work year-round and often cost less; there’s no need to thaw them first, just add a splash of water to the pot.
Chia Seeds: The Magic Thickener
Chia seeds absorb roughly ten times their weight in liquid, forming a gel that mimics the set of traditional pectin-based jam. Use whole seeds rather than ground — the ground version thickens faster but turns the jam slightly cloudy and gritty. Black and white chia work identically, so buy whichever is cheaper. A good rule of thumb is one tablespoon of chia per cup of mashed fruit, though you can adjust based on how thick you like it.
Sweetener: Natural Options
Maple syrup is our default, and it’s a genuinely Canadian choice — Quebec produces about 90% of Canada’s maple syrup, so the bottle on your shelf likely travelled a short distance. Honey works well too, as does agave for a neutral flavour. Start with one to two tablespoons per cup of fruit and taste as you go. Very ripe fruit may need almost none, while tart fruit like cranberries will want more.
Step-by-Step: How to Make Chia Jam
The method is forgiving. If you can stir a pot, you can make this. Here’s how we do it.
Cooking the Fruit
Add your fruit to a small saucepan over medium heat with a tablespoon or two of water. Cook for 5 to 8 minutes, stirring occasionally, until the fruit softens and releases its juices. For berries, this happens fast; for firmer fruit like apples or peaches, give it a few extra minutes. Mash with a fork or potato masher to your preferred texture — we like ours slightly chunky.
Mixing and Resting
Remove the pot from the heat. Stir in your chia seeds and sweetener, then let the mixture sit for 20 minutes. This rest is essential — the chia needs time to hydrate and gel. Stir once or twice during the wait to prevent clumping. After 20 minutes, the jam should be visibly thicker. If it’s still loose, add another teaspoon of chia and wait 10 more minutes.
Storage Tips
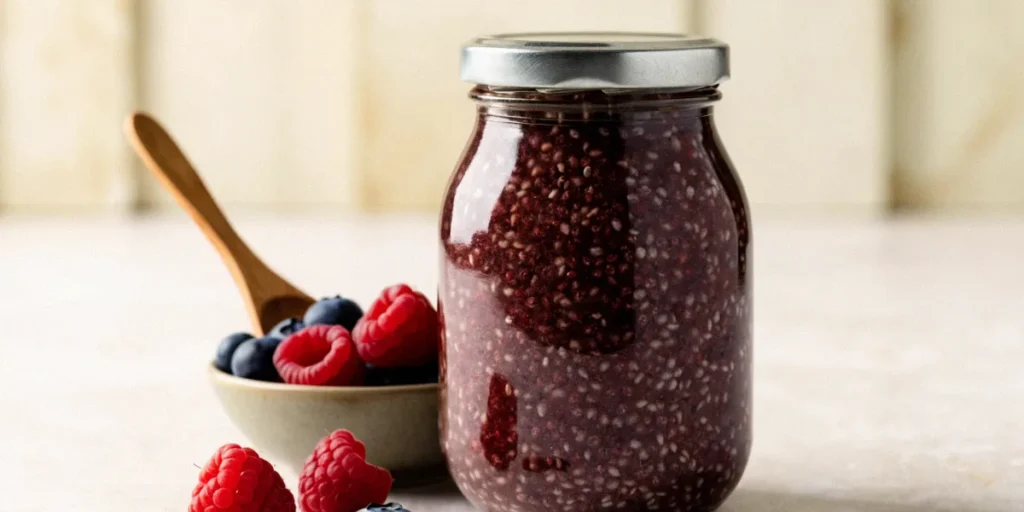
Transfer the cooled jam to a clean glass jar with a tight-fitting lid. It keeps in the fridge for up to two weeks, though ours rarely lasts that long. Chia jam doesn’t freeze perfectly — the texture gets a little watery — but it’s fine for up to three months if you’re using it in baking or oatmeal. Always use a clean spoon to scoop, and it’ll stay fresh longer.
Flavor Variations to Try
This is where chia jam gets fun. Once you’ve nailed the base recipe, start playing with combinations. Here are a few of our favourites, all built around Canadian seasons.
Berry Medley
Combine strawberries, raspberries, and blueberries in equal parts for a mixed-berry jam that’s tart, sweet, and deeply coloured. A squeeze of lemon brightens the whole thing. This is our go-to in July when Ontario strawberries and BC blueberries overlap.
Tropical Twist
Mango and pineapple with a pinch of lime zest make a bright, sunny jam that’s excellent swirled into coconut yogurt. Frozen mango chunks work perfectly here and keep the cost down in winter.
Spiced Apple
Diced apples cooked down with cinnamon, nutmeg, and a touch of maple syrup make a cozy fall spread. It’s the closest thing to apple butter we’ve made without a slow cooker, and it’s excellent on sourdough.
Ways to Enjoy Your Chia Jam
You’ll find yourself reaching for this jar more often than you expect. Here’s how we use it around our kitchen.
Breakfast Ideas
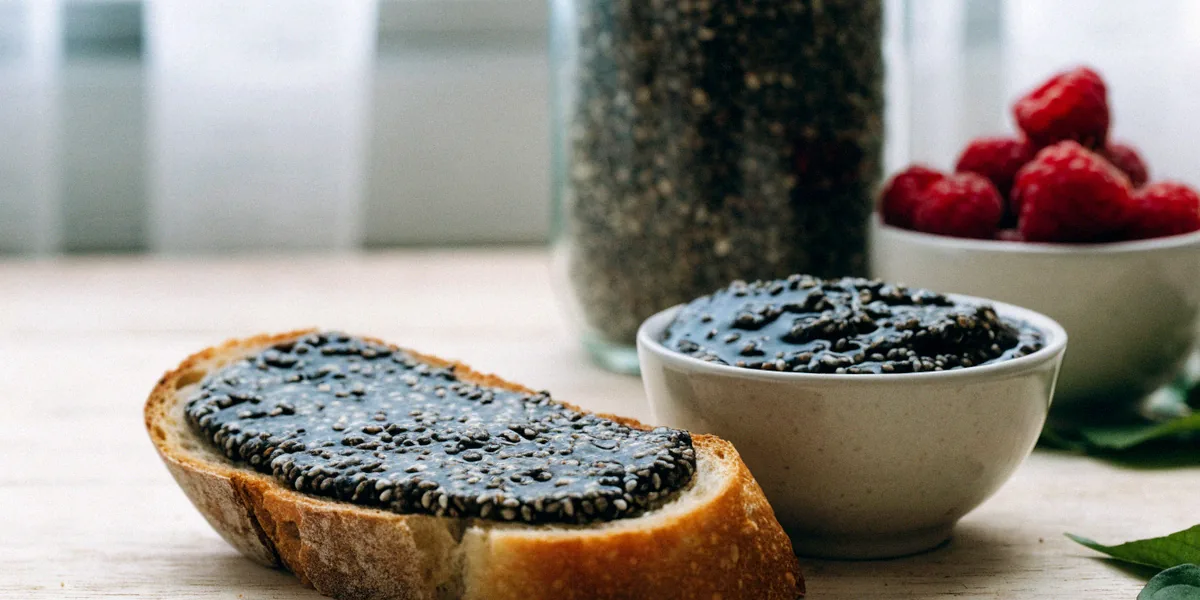
- Spread on whole-grain toast with a swipe of almond butter
- Stirred into warm oatmeal or overnight oats
- Swirled into plain Greek yogurt with a sprinkle of granola
- Spooned over our quinoa breakfast bowls for a naturally sweet finish
Snack and Dessert Uses
Chia jam shines as a filling for vegan baking — think thumbprint cookies, layer bars, or a quick tart with a nut crust. It’s also a great dip for apple slices, a topping for pancakes, and a surprisingly good addition to a cheese board if you’re feeding omnivores alongside plant-based eaters. We’ve even thinned it with a little warm water and drizzled it over dairy-free ice cream.
Tips for Perfect Chia Jam Every Time
Chia jam is forgiving, but a few small adjustments make a big difference.
Consistency Control
Too thin? Add more chia, one teaspoon at a time, and wait 10 minutes. Too thick? Stir in warm water a tablespoon at a time until it reaches your preferred texture. Remember that chia jam thickens further as it cools, so pull it off the heat slightly looser than you want the final result.
Sweetness Balance
Taste before you jar it. If it’s too sweet, a squeeze of lemon or lime will balance it. If it’s too tart, add another teaspoon of maple syrup. Very ripe summer fruit often needs less sweetener than you’d expect, so start low and adjust.
Longevity and Storage
Refrigerate in a clean glass jar for up to two weeks. If you’re buying chia seeds for this recipe, Bulk Barn, Loblaws, and Costco Canada all carry them regularly, and a bag lasts through many batches. Store your chia seeds in a cool, dark place — they keep for up to two years.
Making chia jam is one of the simplest, most rewarding ways to bring whole foods into your daily routine. Three ingredients, twenty minutes, and a jar of something genuinely good. We’d love to hear which flavour combination becomes your favourite — tag us or send a note, and we’ll add the best ideas to our rotation.
FAQ
Can I make chia jam without any sweetener?
Yes. If your fruit is very ripe, you can skip the sweetener entirely or use just a teaspoon of maple syrup for balance. The chia will still thicken the fruit, though the jam may taste tarter. Taste as you go and adjust.
How long does chia jam last in the fridge?
Stored in a clean glass jar with a tight lid, chia jam keeps for up to two weeks in the refrigerator. Always use a clean spoon to scoop it, and discard it if you notice any off smell or visible mould.
Can I use frozen fruit instead of fresh?
Absolutely. Frozen fruit works just as well and is often more affordable in winter. Add it straight to the pot with a splash of water and cook until softened — no thawing needed.
Why is my chia jam still runny?
Chia needs time to hydrate. If your jam is loose after 20 minutes, stir in another teaspoon of chia seeds and let it rest for 10 more minutes. Also remember it thickens as it cools, so give it time in the fridge before deciding it needs more chia.
Do black and white chia seeds work the same way?
Yes, they behave identically as thickeners. The only difference is appearance — white chia blends in more subtly, while black chia adds a speckled look. Buy whichever is more affordable at your local store.